~ 2020-2021 ~
Skills:
- 3D Printing -
- 3D Modeling -
- Foam Sculpting -
- Thermoplastic Sculpting -
- Painting -
- Sewing -
- Vacuum-Forming -
- Patternmaking -
- Circuit Building -
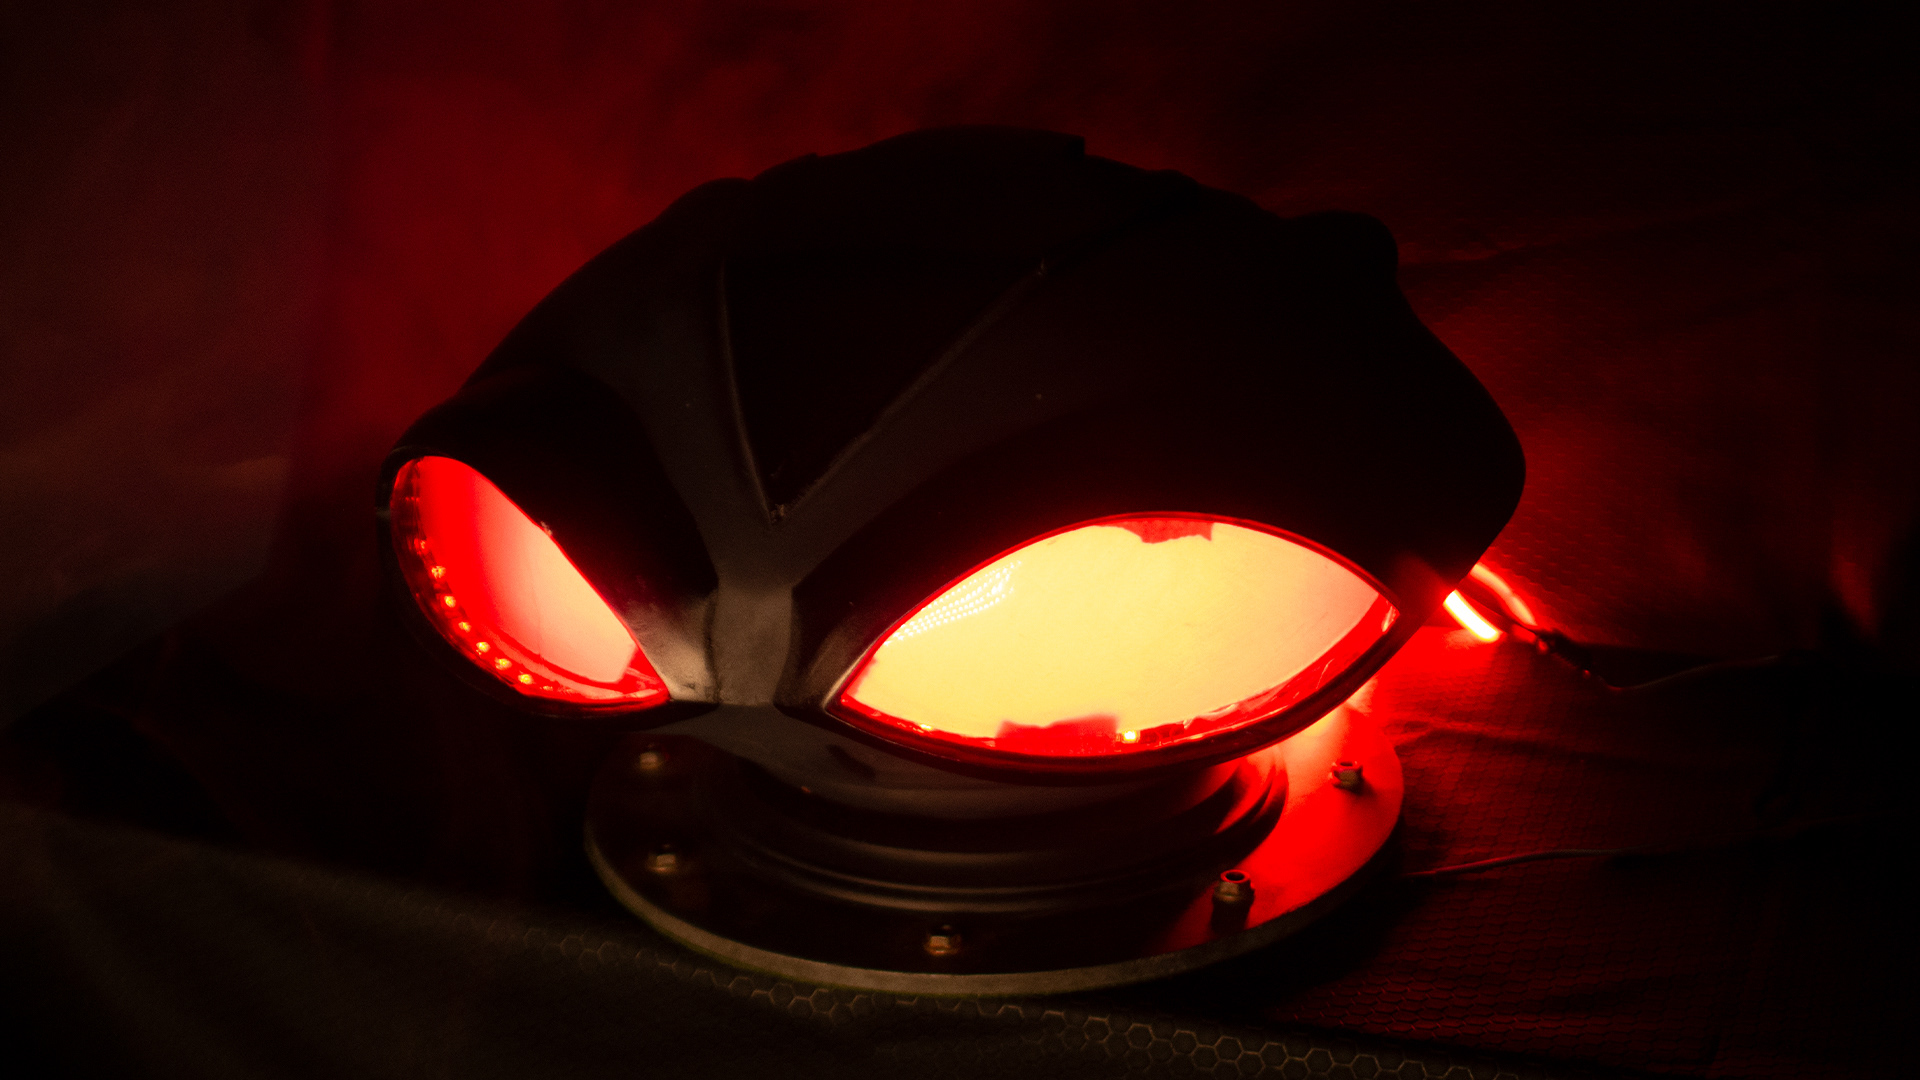
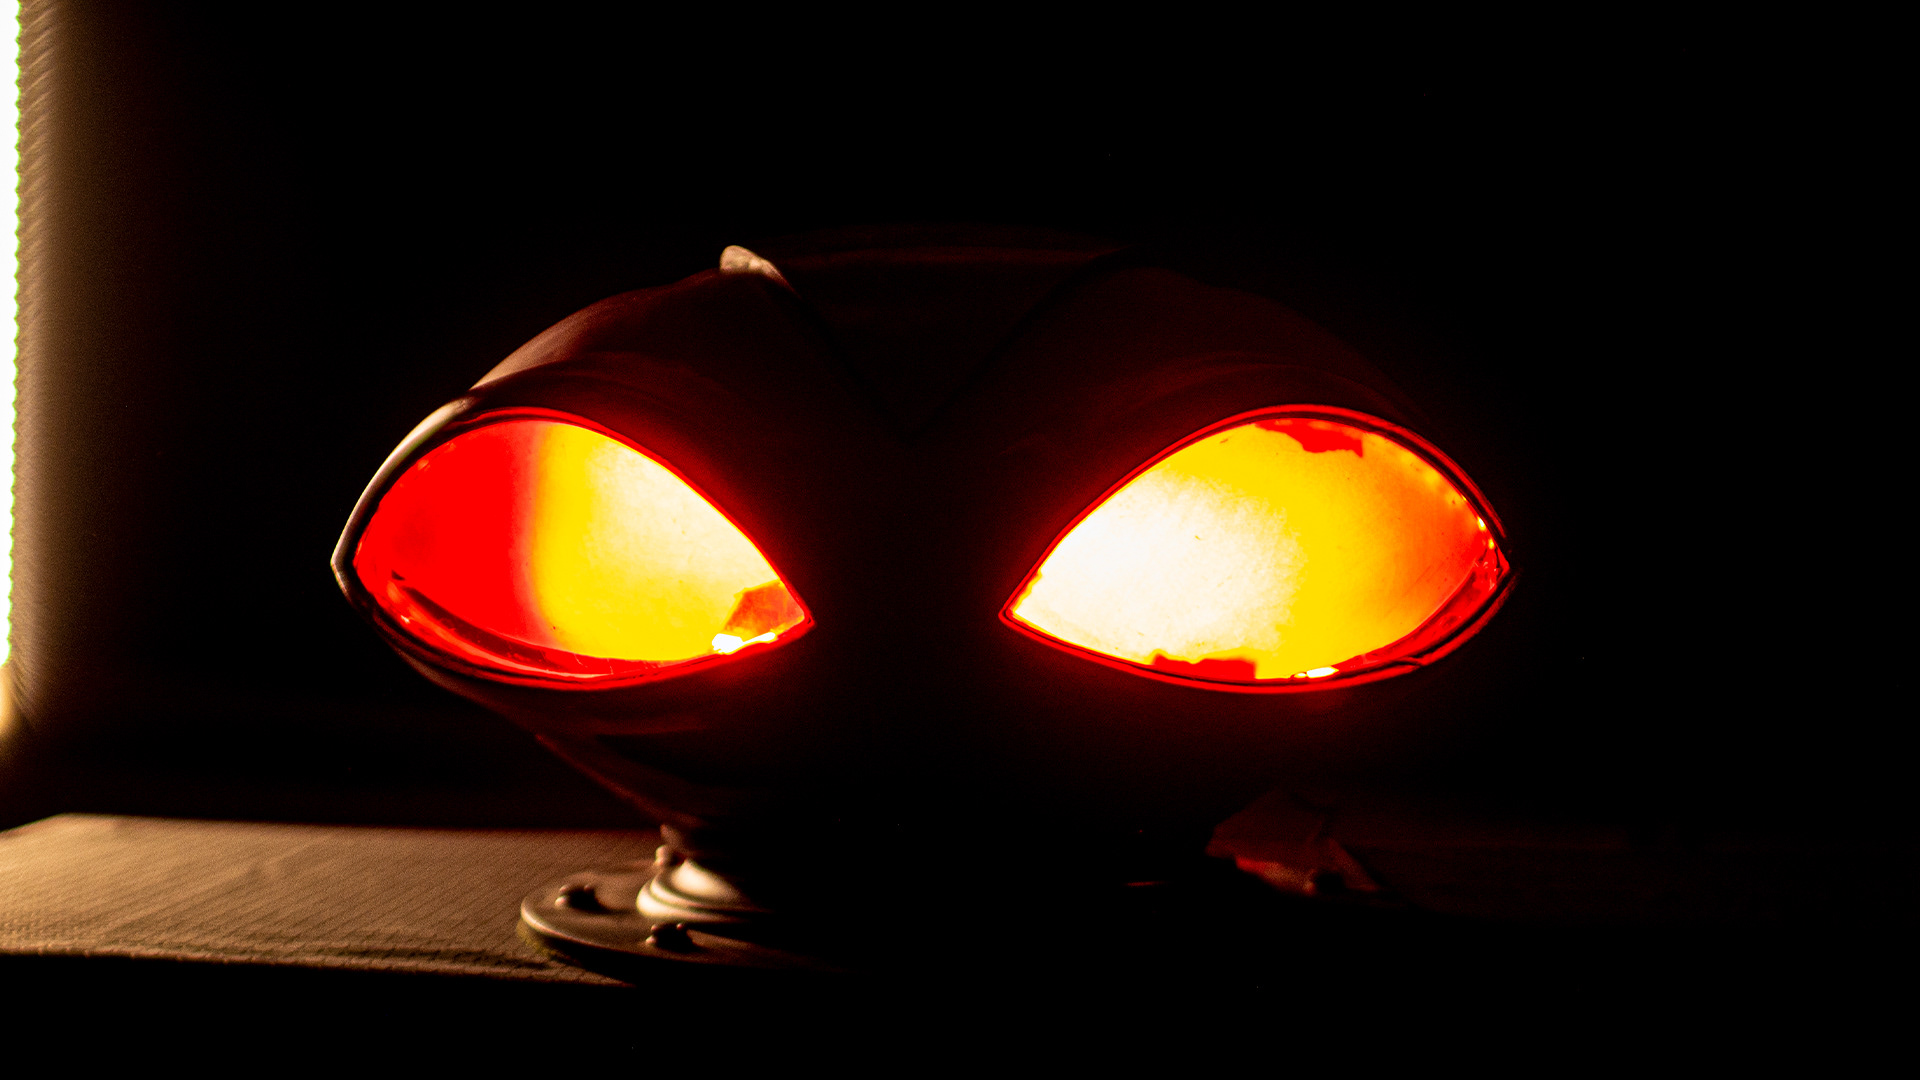
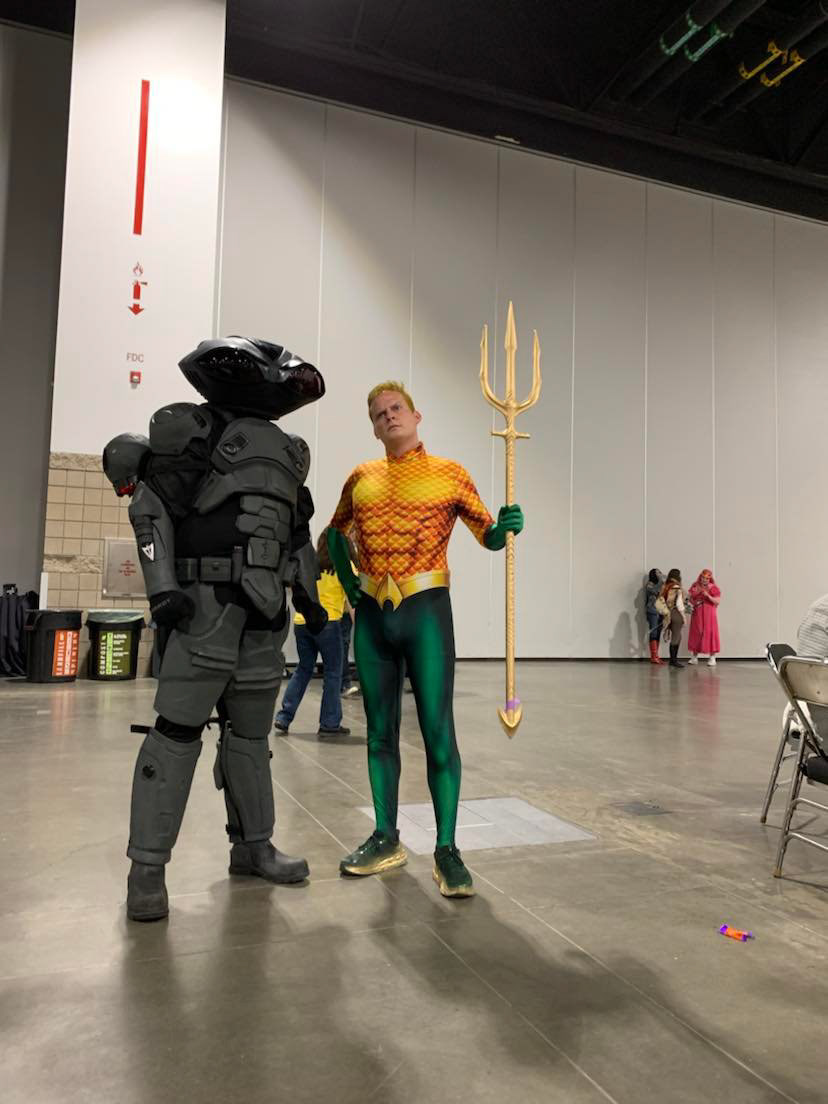
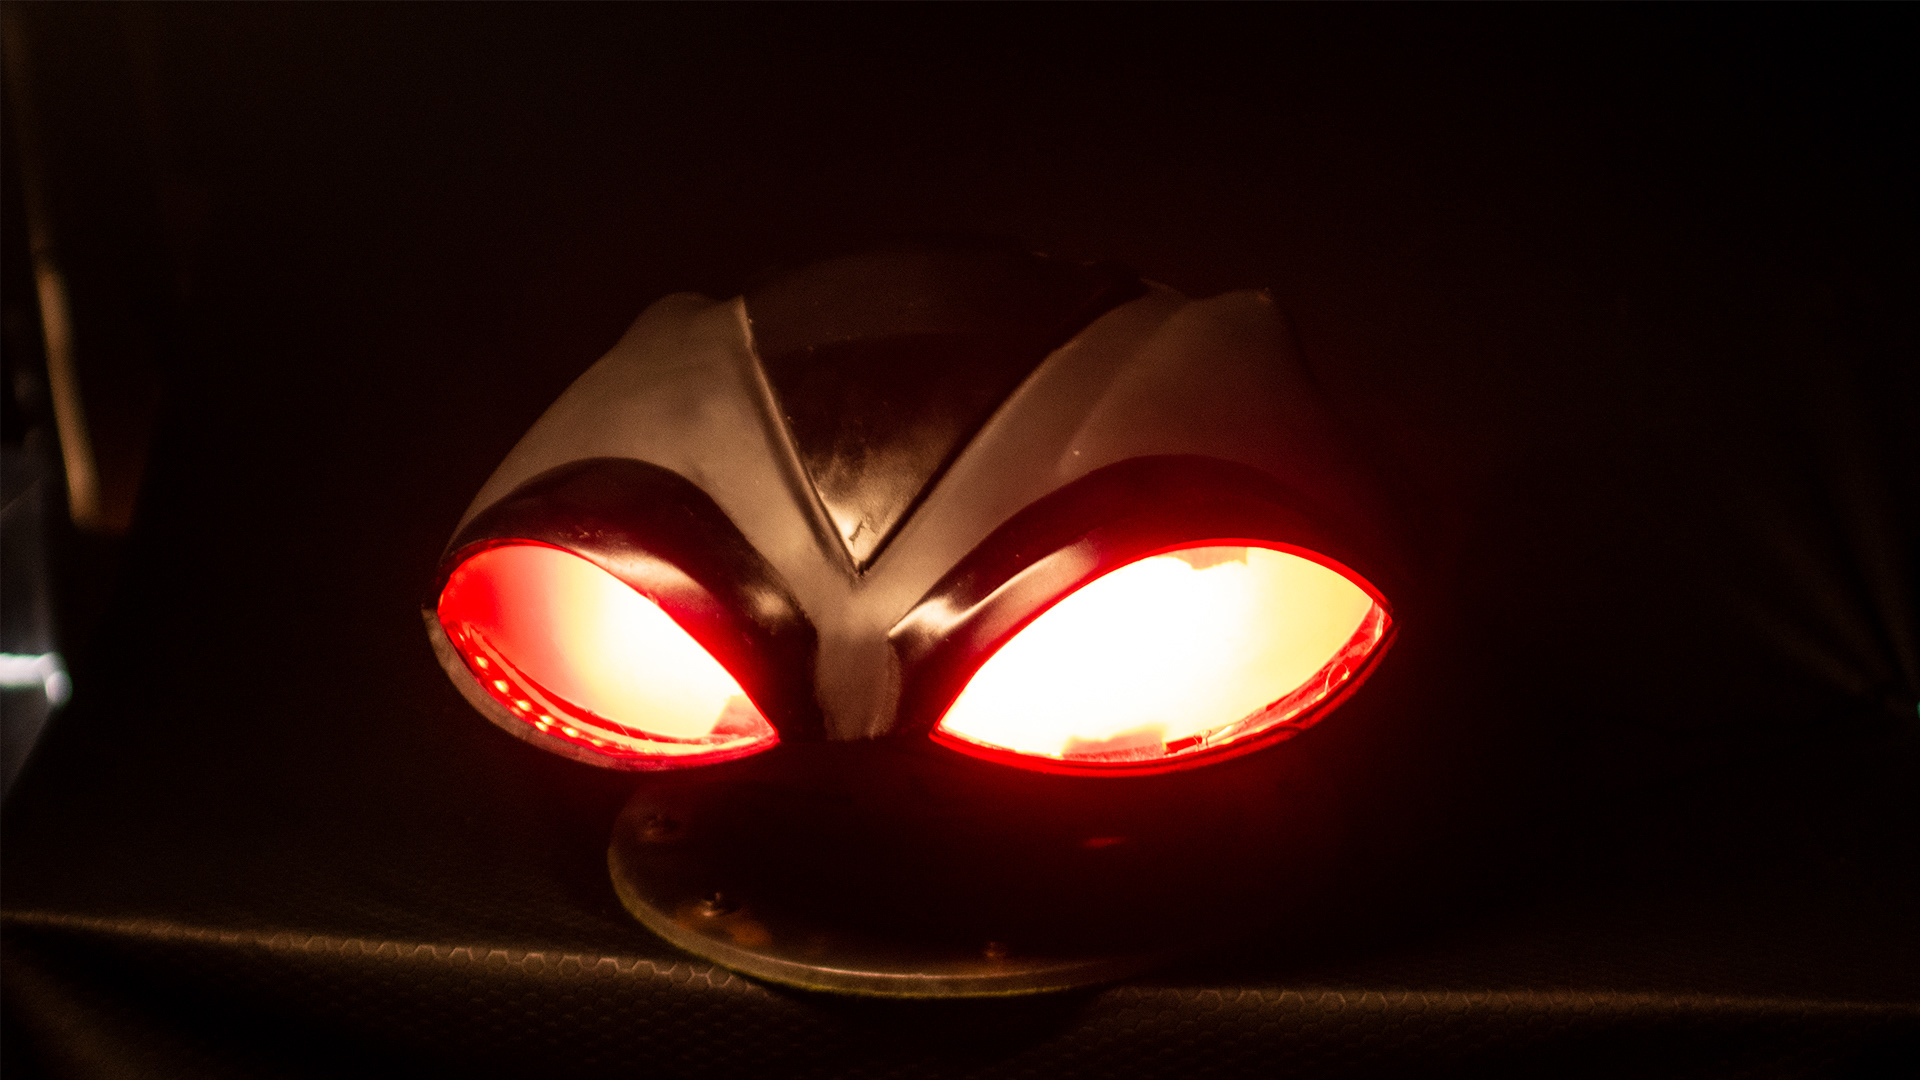
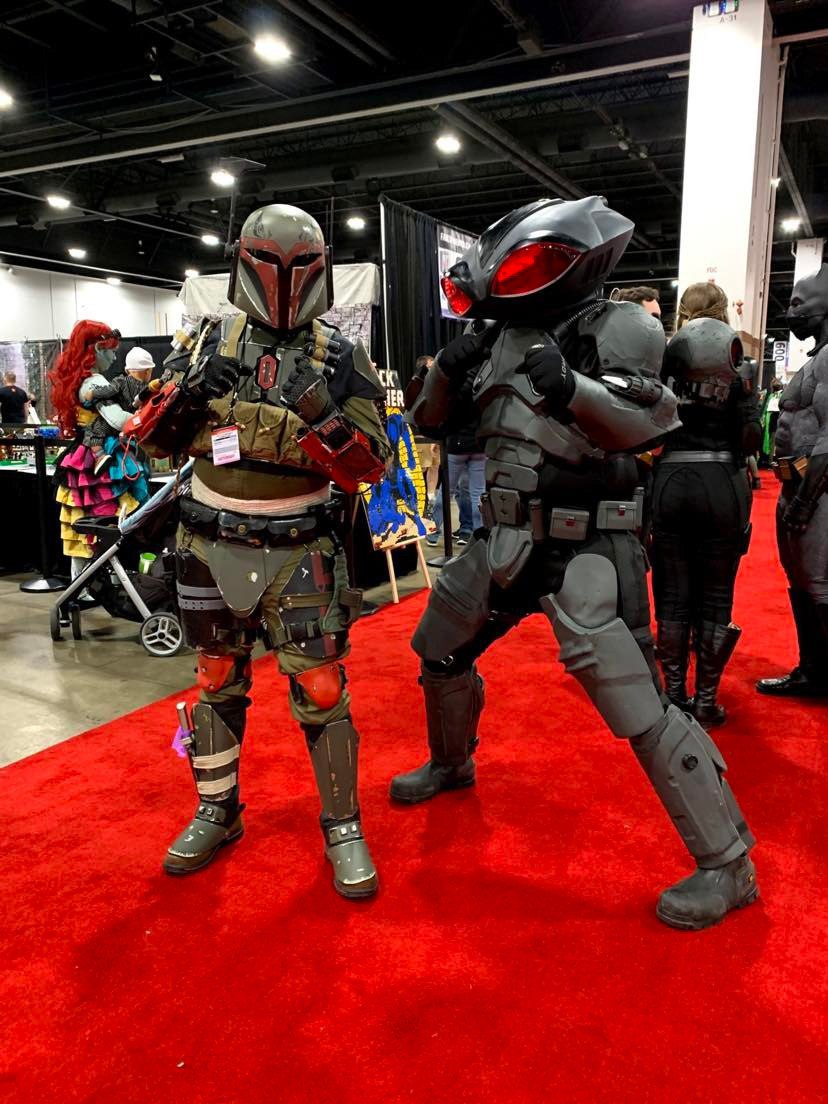
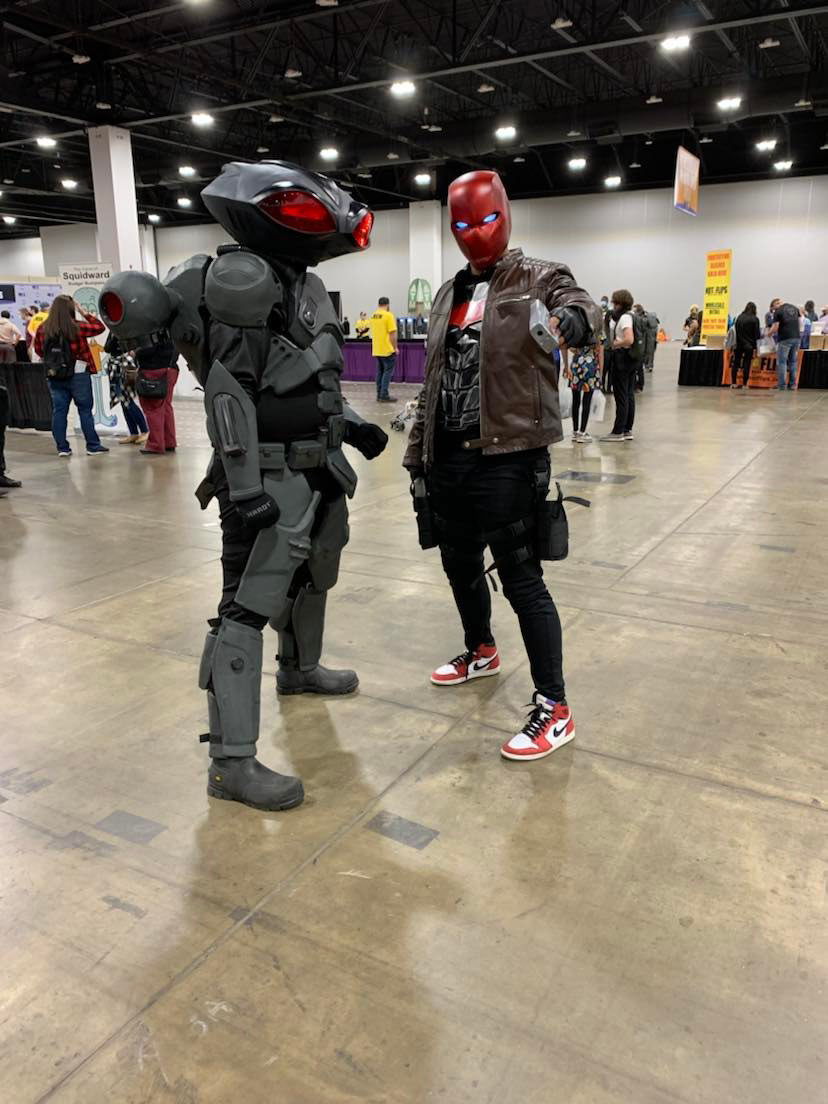
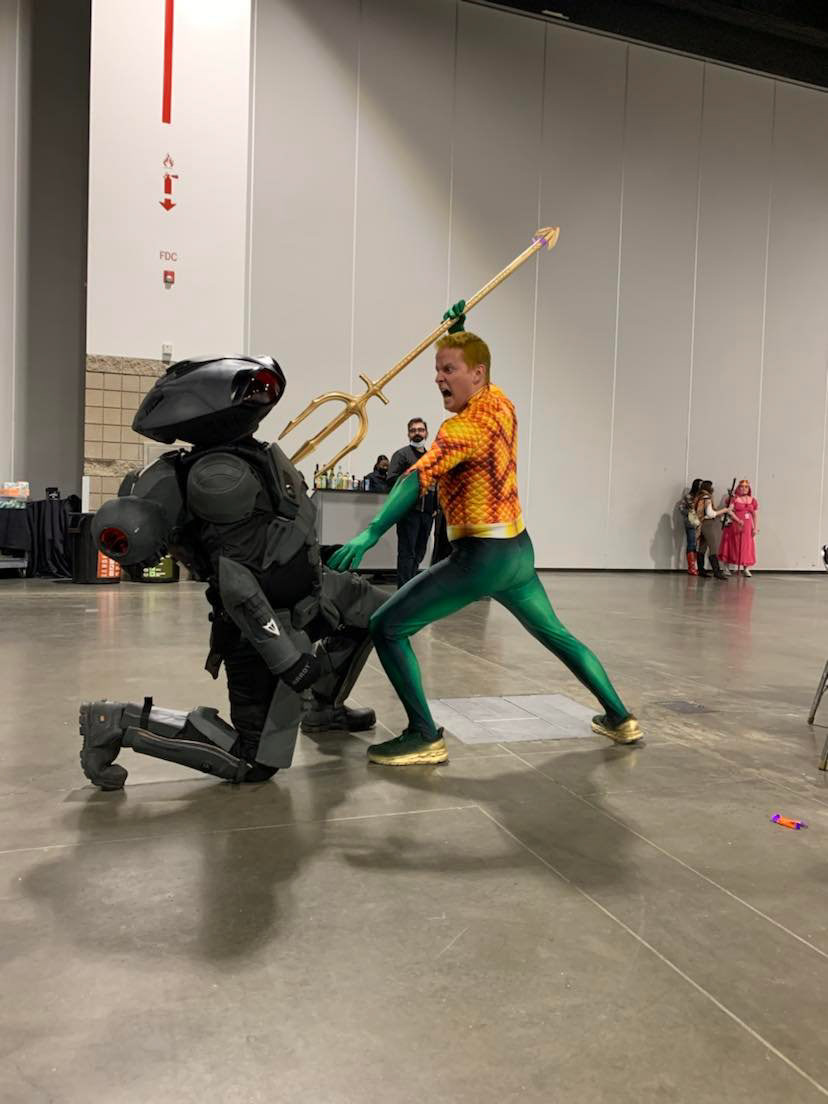
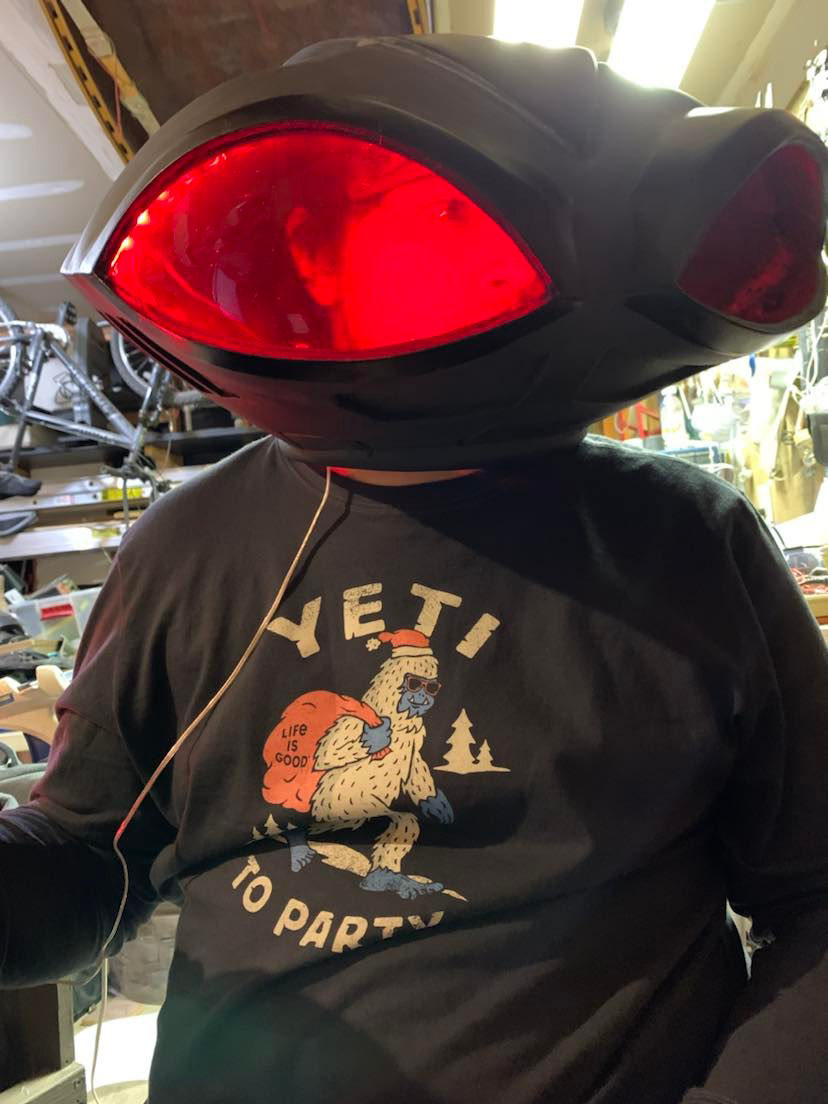
DC’s Aquaman had a villain that I have found to be one of the coolest looking in recent cinema. For Denver's Fan Expo I made a replica of this costume. This was one of the most intensive 3D printing and modeling projects I have worked on. I was gifted a model of the mask, which was printed in eight total parts and glued together. I modeled two fans that were attached to the mask allowing air flow into the helmet and prevented the vacuum-formed lenses from fogging. Lights were also added to the mask to create the same effect that was seen on the screen.
To save on 3D printing time, most of the armor was made of EVA foam. This also allowed for the armor to be slightly flexible for when I was wearing/moving in it. I have worked with a lot of foam in the past and found that one could make it look like a composite or metal material to a point, but it won't ever look like the real thing. To combat this, I used a thermoplastic (Worbla) to cover all of the armor surfaces. This made the armor look more realistic but still light enough to be comfortable.
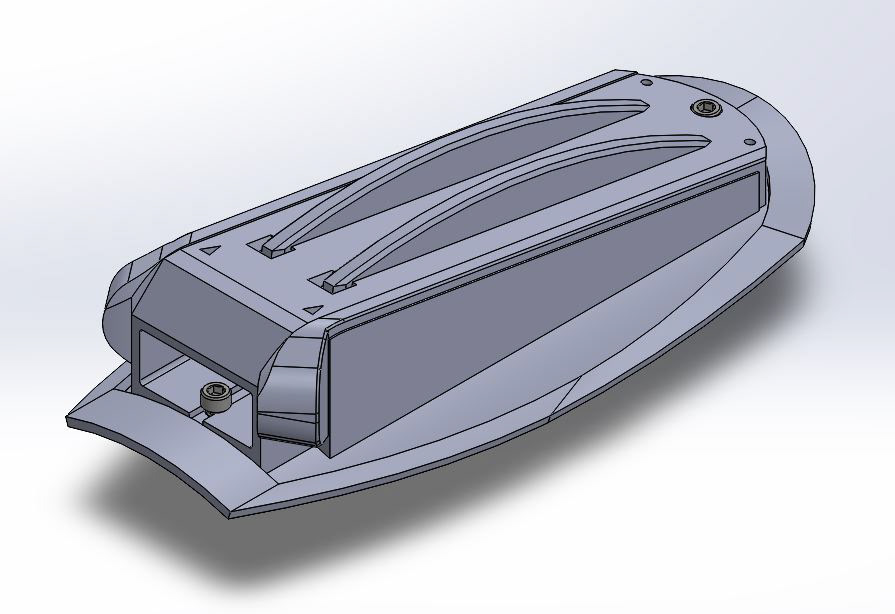
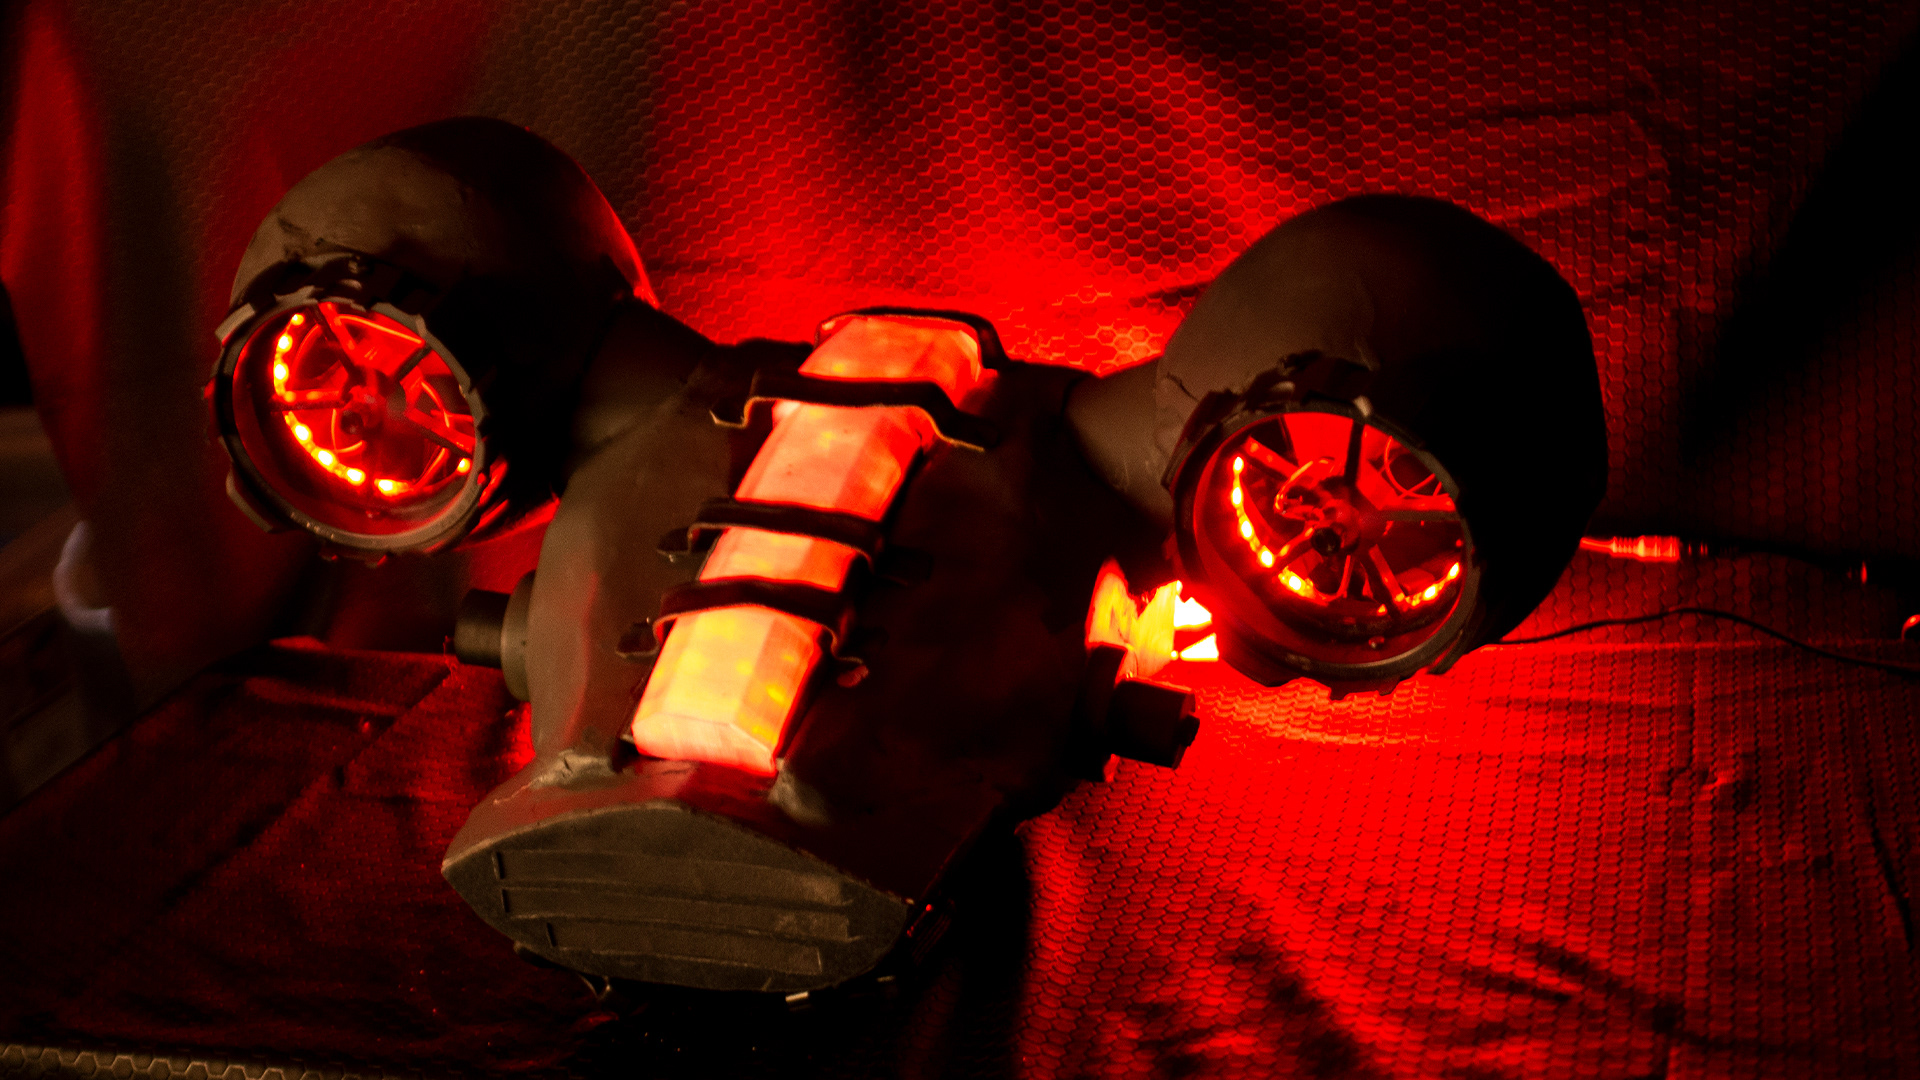
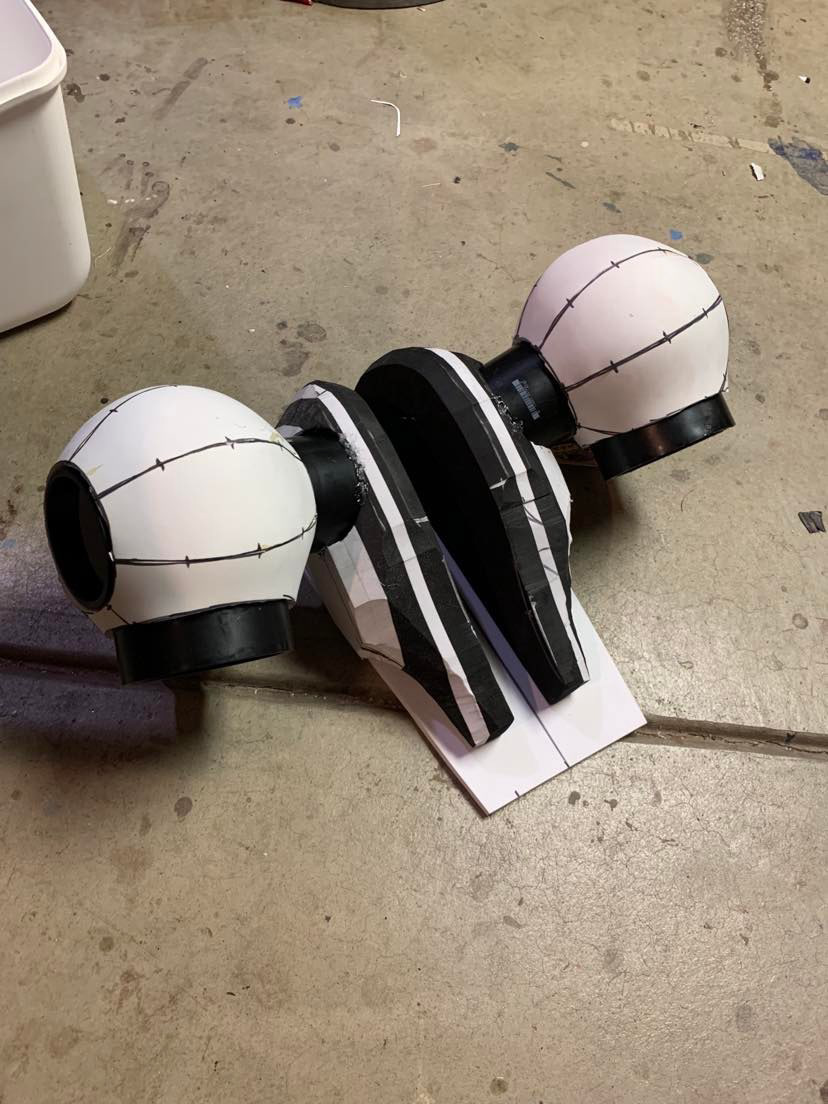
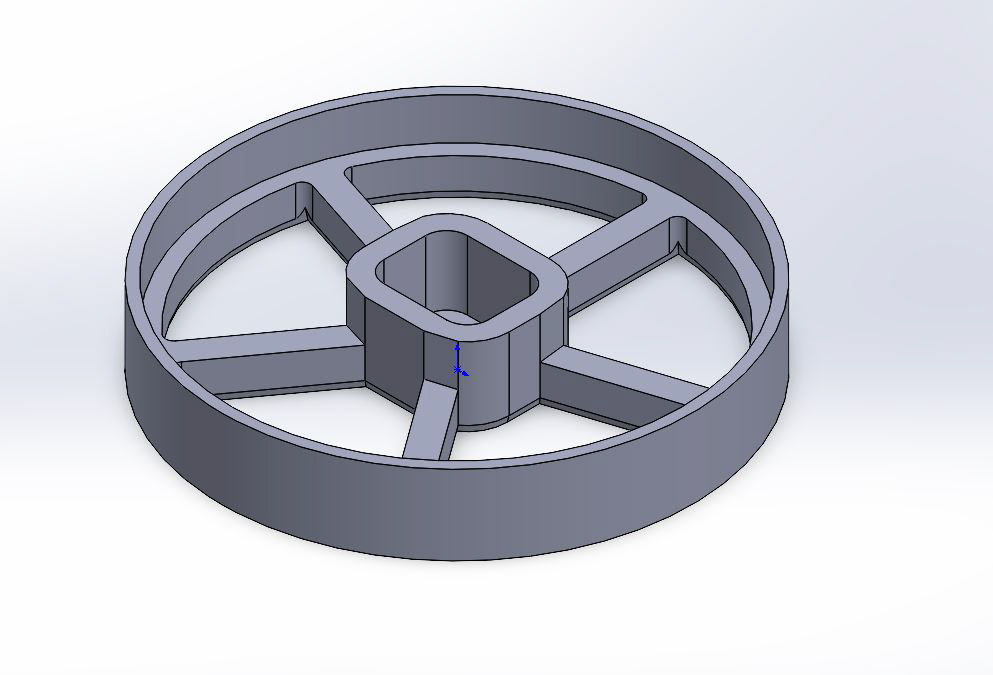
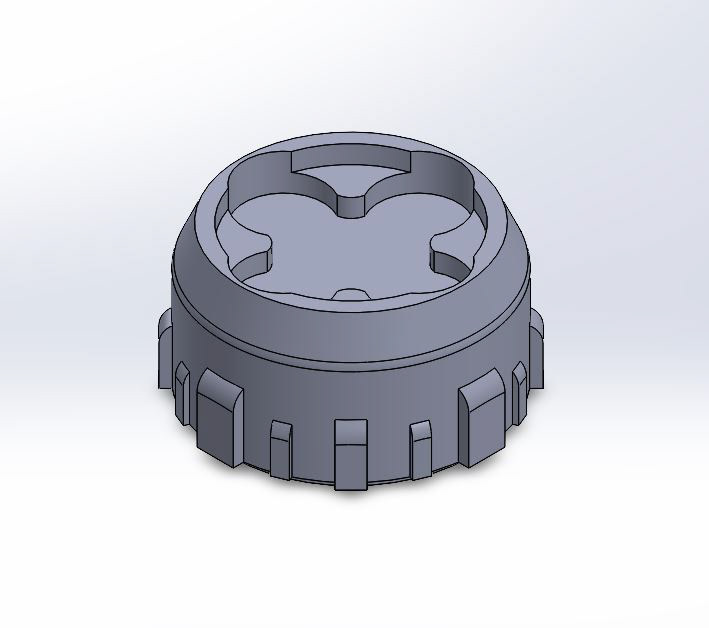
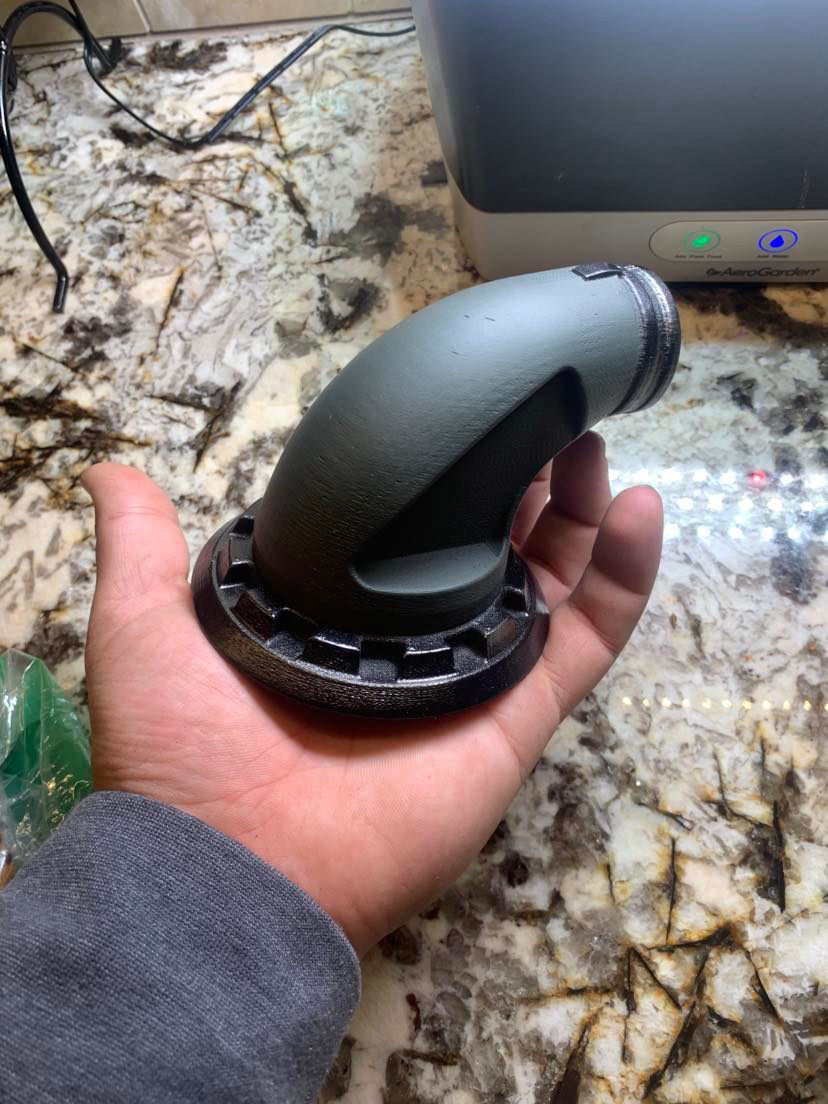
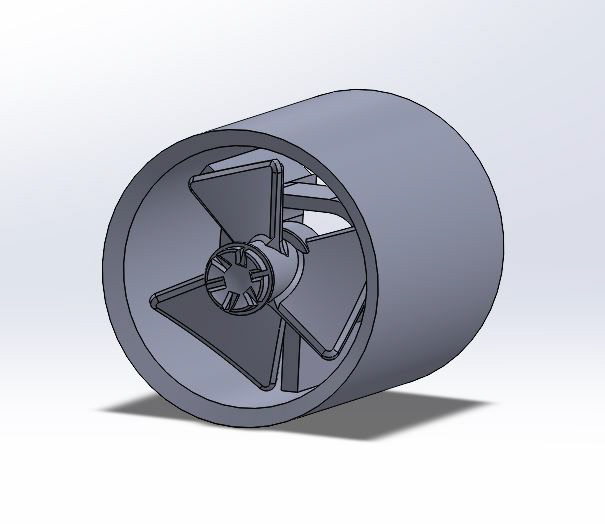
Black Manta's iconic jetpack was made using both foam/thermoplastic and 3D printed parts. The details were printed and large parts were made of foam. Even with my precautions to use light materials, the jetpack was around 20 pounds. There was also a series of clear 3D printed parts that are positioned up the center of the jetpack. Each was outfitted with 20-25 LEDs to allow the jetpack to light up. There were also two 'turbines' designed by myself that had motors to spin and create the effect from the movie.
The wetsuit was sewn by myself following a pattern but changed to make more accents on the body to give more depth to the suit. Gloves were bought and 3D printed parts were attached to make them look like they were from the movie.
This project, like all heavily 3D printed projects, required a lot of post processing. I got quite familiar with putting layers of Bondo on parts and sanding smooth, only to repeat the process five or six times over. I also got deep into the world of model paints because I wanted to get as close as I could to reference images I found online. I learned how much one could spend on a paint job, which was shocking.
Future Plans:
The jetpack is completely setup to be hooked up to an Arduino to make the 'charging up' effect seen in the movie. This will be set up next; then, there will be changes made to how the armor is strapped to my body to prevent breaking and excess movement. I also plan to make some sort of bracing for the helmet because my neck was only able to support the helmet's weight for a limited amount of time.


Jetpack Turbine Fan Model
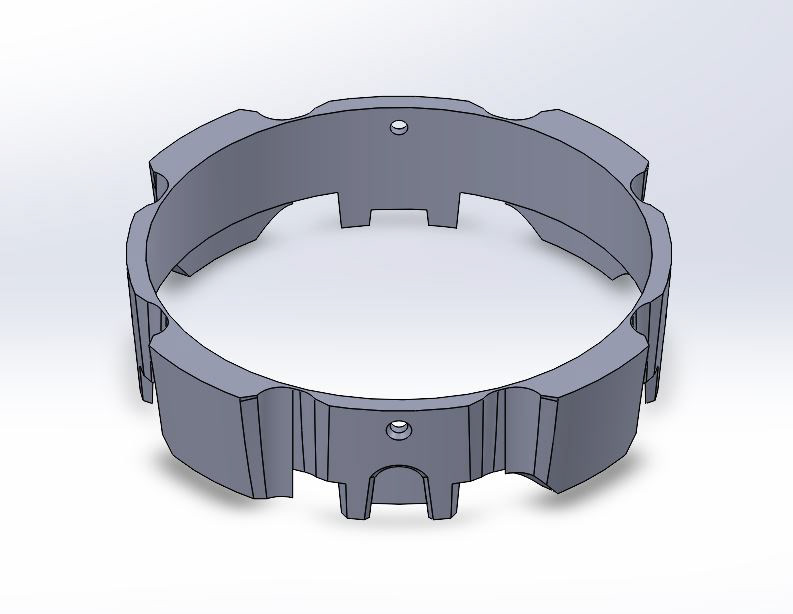
Jetpack Turbine External Model
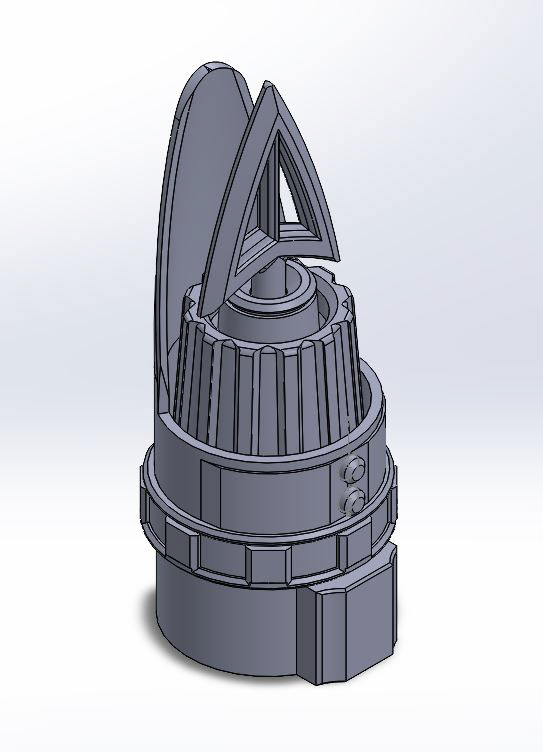
Jetpack Turbine Housing Model

Belt Tube Container Top Model
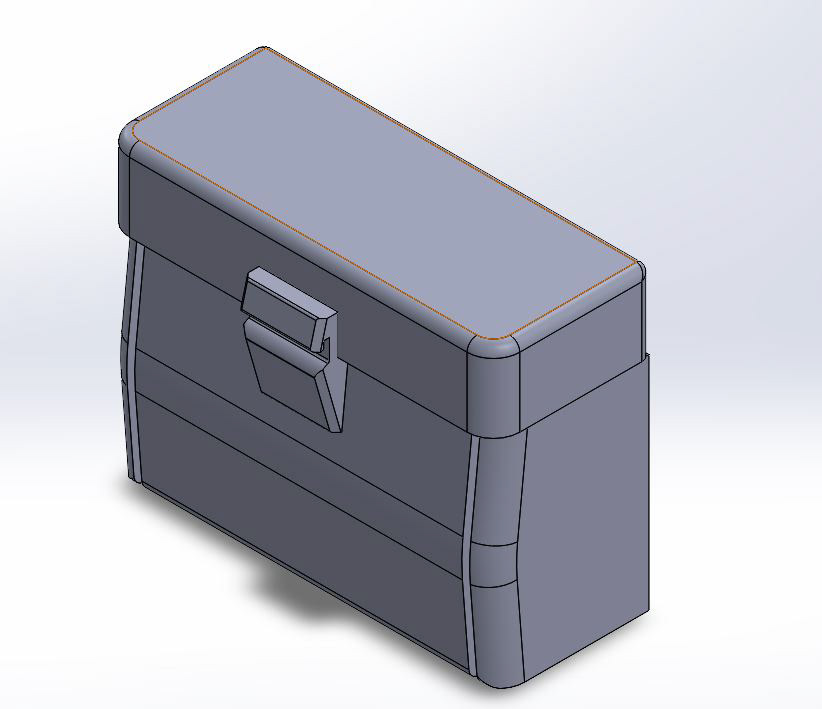
Belt Container Model
Belt Buckle Model
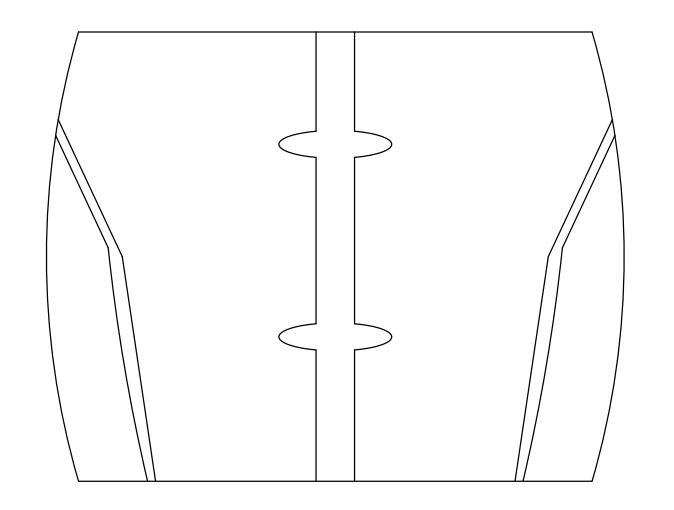
Belt Buckle Foam Example Templet
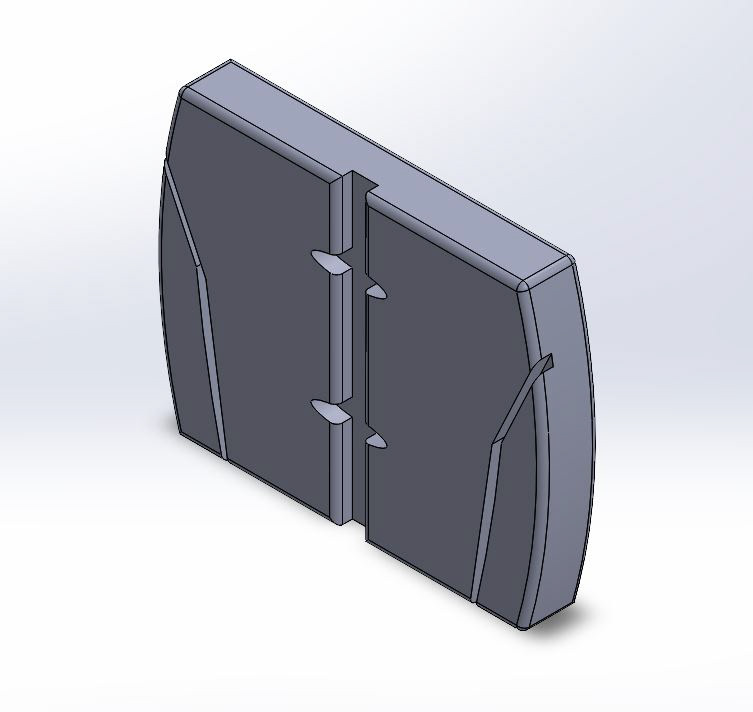
Right Arm Gauntlet Attachment Model
Helmet Turbine Model